Users Log in to Amazon WorkSpace
Amazon WorkSpace
Step 1: Welcome email from the System Administrator
Note: Make sure you are opening programs and files on the remote session (WorkSpace) instead of your local computer.
When the WorkSpaces are ready for use, a welcome email from the System Administrator will be sent to each of the users. The welcome email will contain instructions for the user to download and install a WorkSpaces client, and log in to their WorkSpace. For this demo we’ll use WorkSpace username “anuragwctest”.
The email template will look like this.
Dear Amazon WorkSpaces User,
A new Amazon WorkSpace has been provided for you. Follow the steps below to quickly get up and running with your WorkSpace:
- Download and install a WorkSpaces Client for your favorite devices: https://clients.amazonworkspaces.com/
- Launch the client and enter the following registration code: SLiad+DU6XCG
- Login with your password. Your username is anuragwctest
If you have any issues connecting to your WorkSpace, please contact your administrator.
Sincerely,
Amazon WorkSpaces
Step 2: Download and Install WorkSpaces Windows client application
To start using your WorkSpace, first download and install the latest AWS WorkSpace client software for your favorite devices at https://clients.amazonworkspaces.com/ . In this example we’ll use Windows client application.

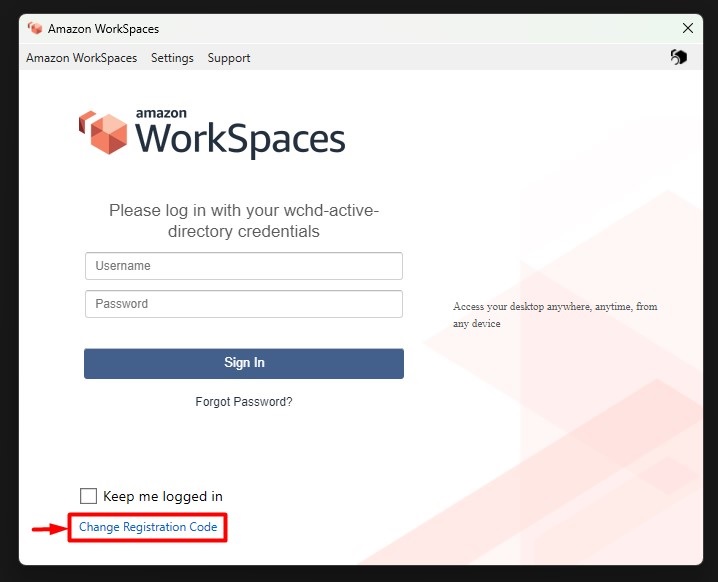
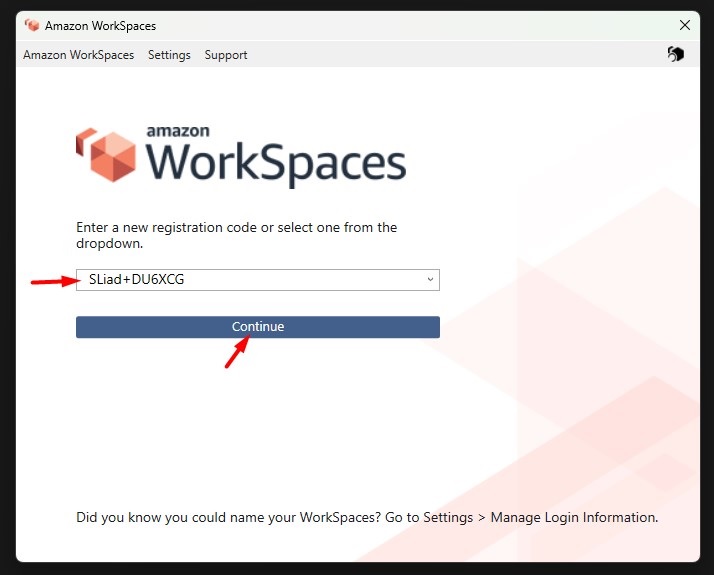
Step 3: Launch the WorkSpaces Client with your registration code
Launch the WorkSpaces Client with your registration code provided in the email. The registration code is basically the network access identifier/encryption key.
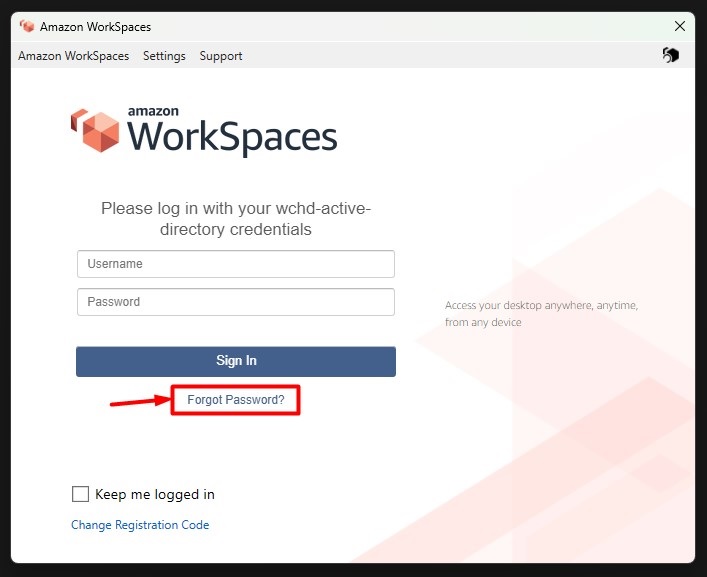
Step 4: Reset a forgotten password using the Amazon WorkSpaces client
1.) From the Amazon WorkSpaces client log-in window, choose Forgot Password?
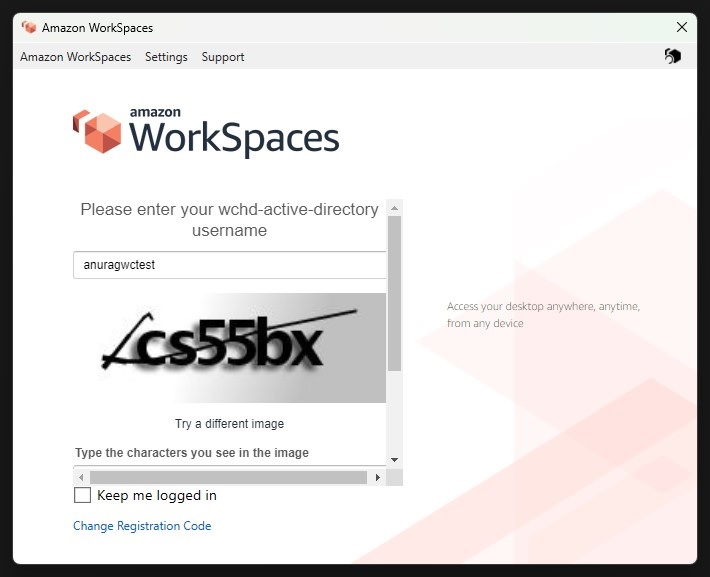
2.) Enter the username and type the characters you see in the image, and then choose Recover Password.
3.) Choose Return to Login Page.
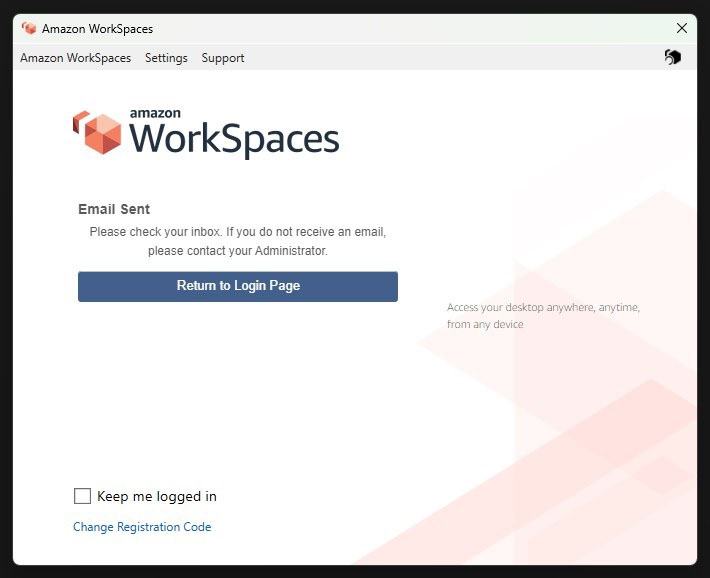
4.) When you receive the Password Reset Request email, choose the Reset Password hyperlink. Enter the new password, confirm the new password, and then choose Reset Password.
Step 5: Logging into your WorkSpace Desktop Environment
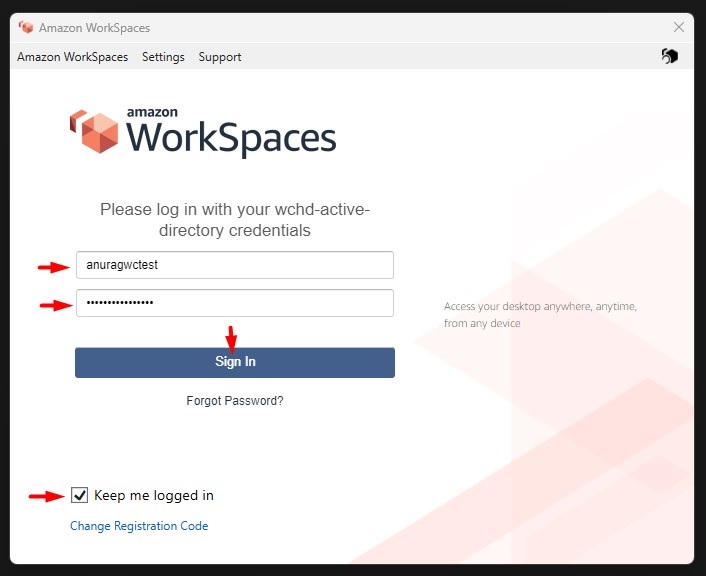
1.) Once the registration code has been entered, the client will present the Log In screen with Username, and Password boxes. Enter your Username and Password.
Click the Sign In button. Amazon WorkSpaces will start logging you on to the network/cloud. It may take a few minutes, especially if you have not logged in, in a while.
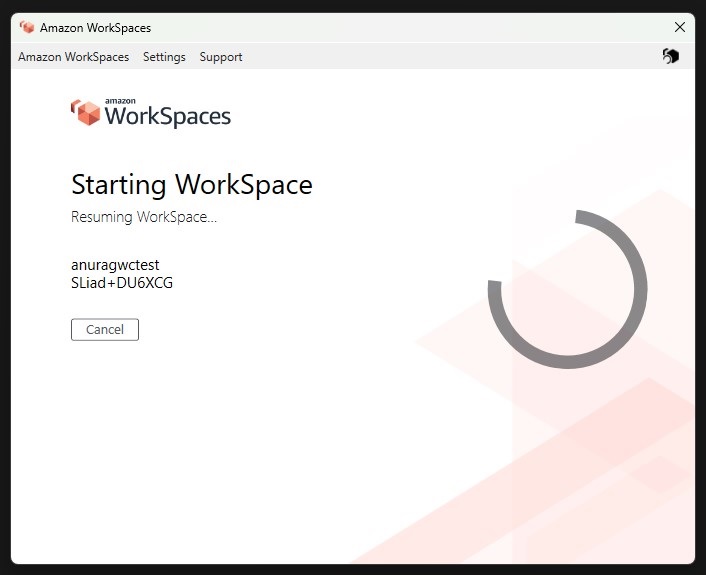
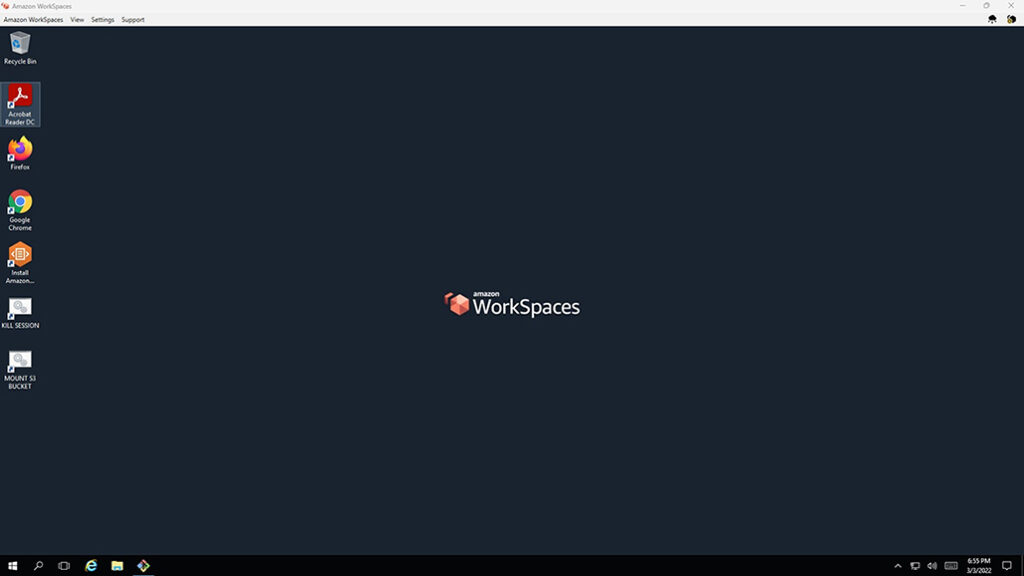
2.) You will now be logged into Amazon WorkSpaces
Step 6. Mounting S3 Bucket
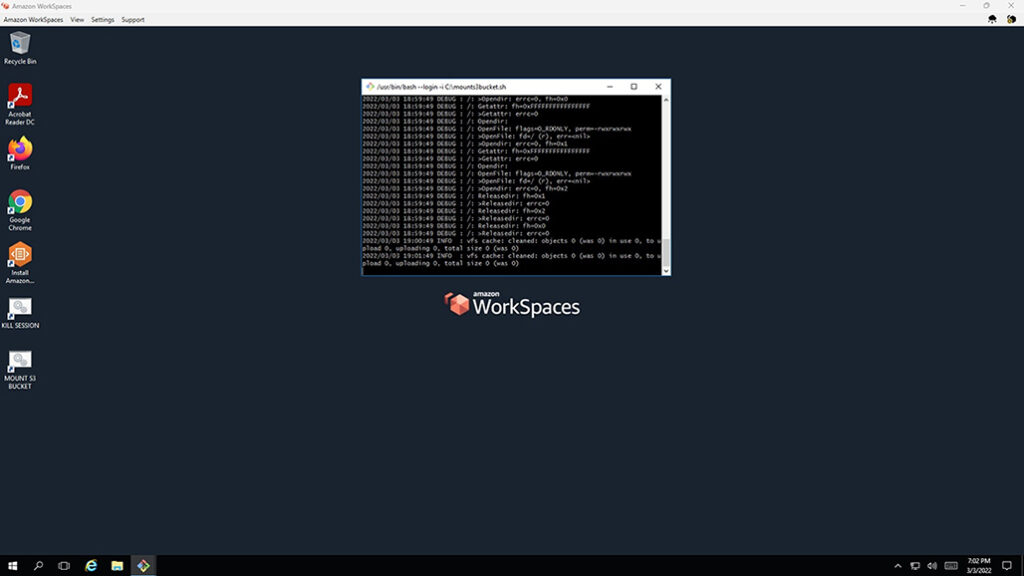
1.) To start mounting the Amazon S3 bucket as a local drive by double clicking the desktop shortcut file “MOUNT S3 BUCKET”, a pop-up window from console will appear.
Note: DO NOT CLOSE/TERMINATE the session of the pop-up window from console if you are still accessing files from the mounted S3 bucket this is to prevent disconnectivity of the network.
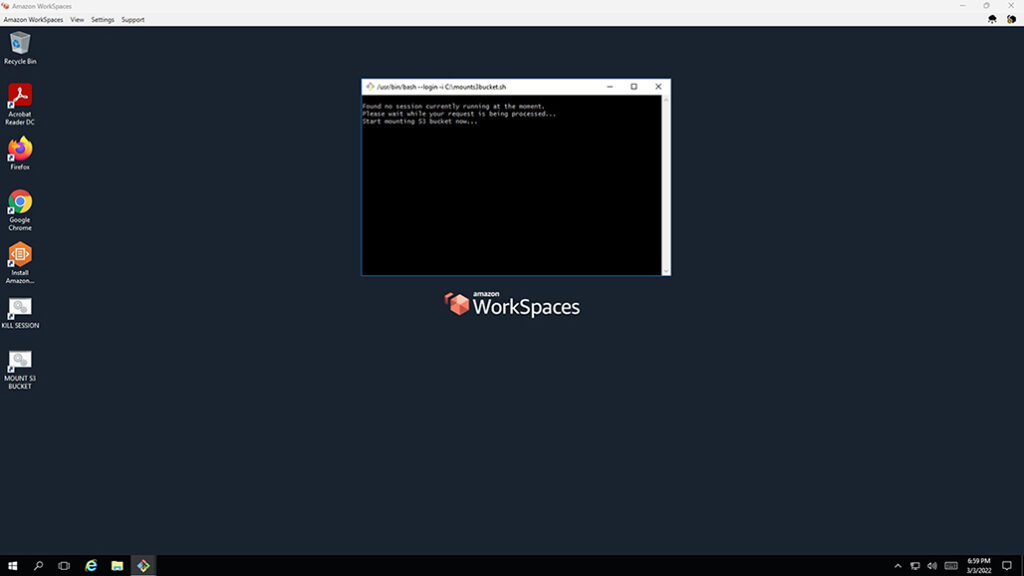
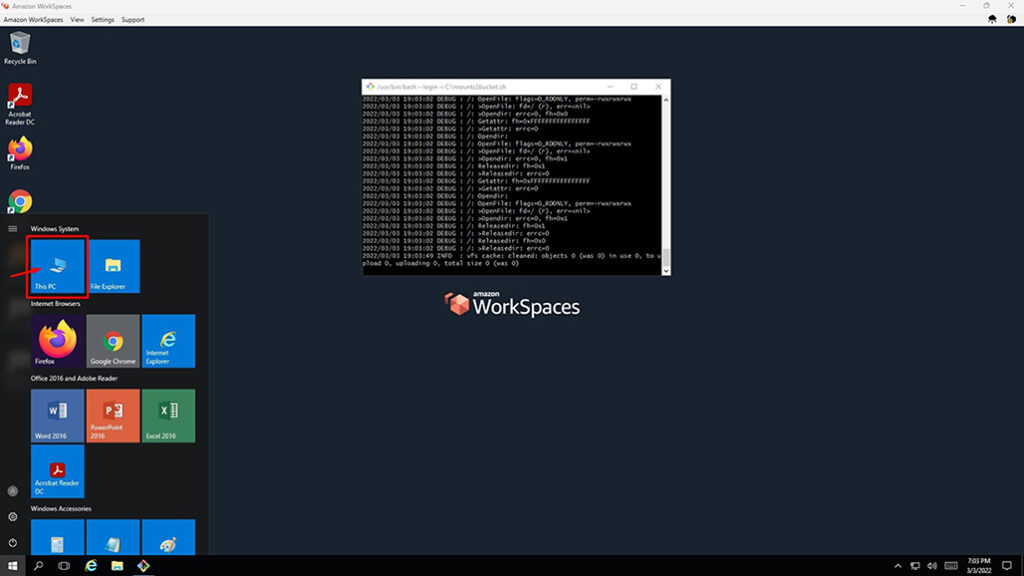
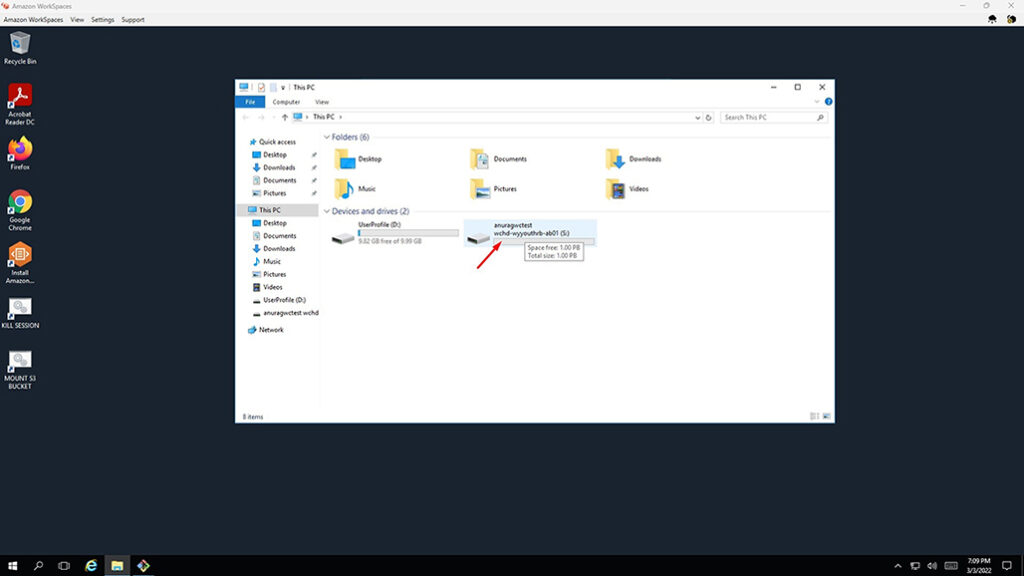
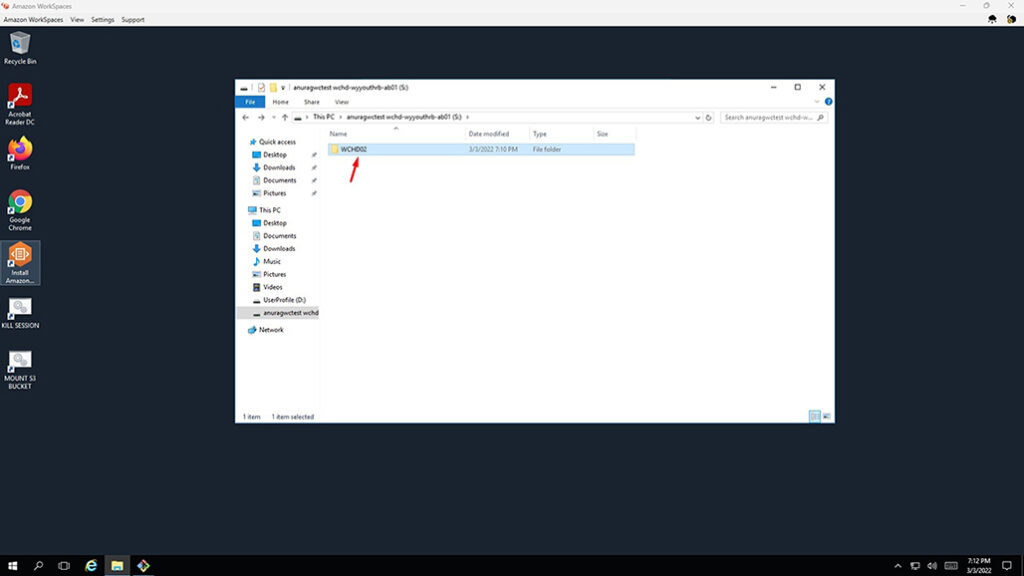
2.) You are now successfully mounted the S3 bucket of your OUs. You can now open that drive to see uploaded files from different SFTP users.
Note: Make sure you are opening programs and files on the remote session (WorkSpace) instead of your local computer.
Hide
Step 2: (Option 2) - Password-based authentication
Set up a Server Connection:
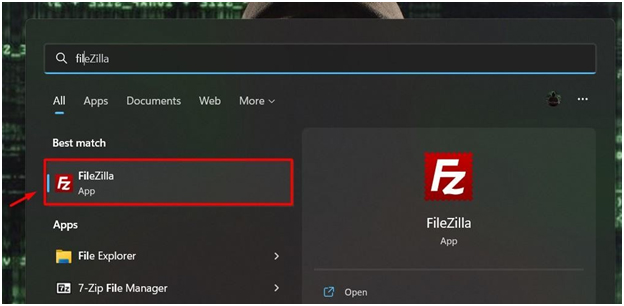
1.) Start FileZilla. Select the FileZilla icon on your desktop or in your Windows Start menu.
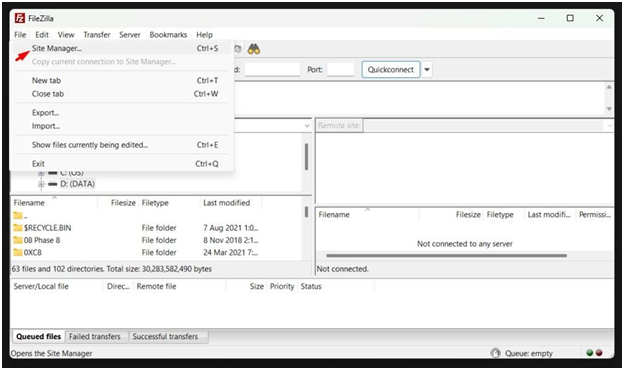
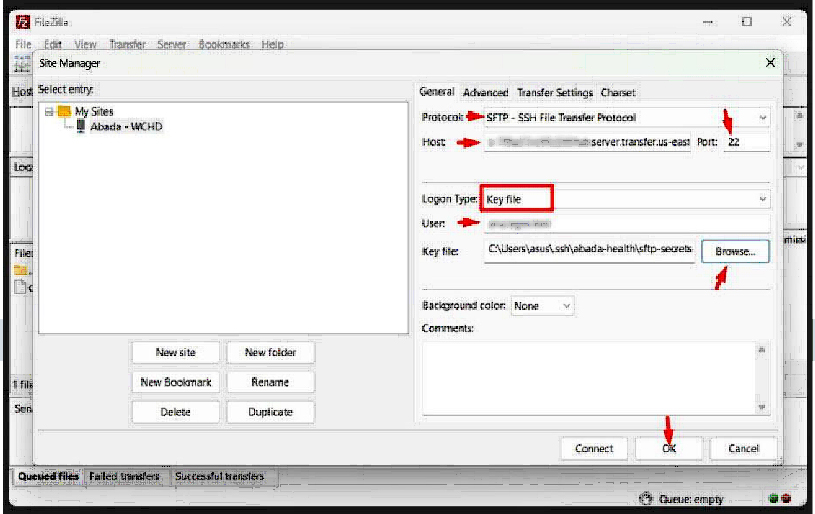
2.) From the File menu, select Site Manager.
3.) Select New Site.
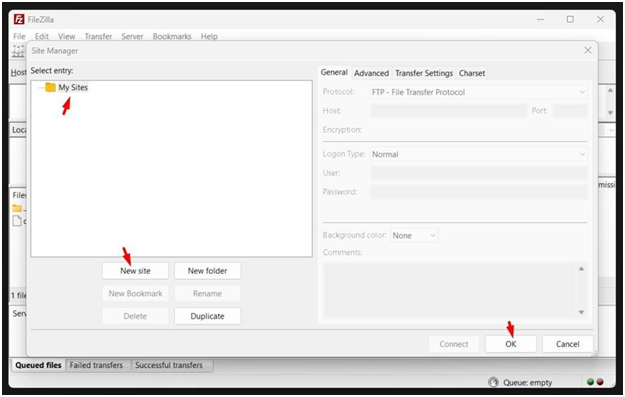
4.) Do the following:
- In the Protocol box, select SFTP – SSH File Transfer Protocol.
- In the Host box, enter the address of the server you’re connecting
- In the Port box, enter 22.
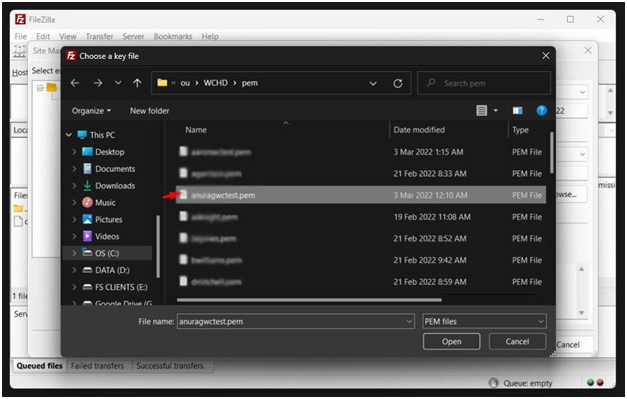
- In the Logon Type box, select Key file. Click the Browse, and locate the PEM file then hit the Open button.
- In the User box, enter the username you were assigned for this
- Locate the save location of the key file given to
- To connect immediately, select Connect and skip to step 4
- Or to connect later, select OK.
Transfer Files:
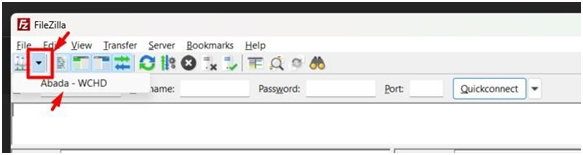
1.) Start FileZilla. Select the FileZilla icon on your desktop or in your Windows Start menu.
2.) Select the arrow next to the Open Site Manager button, and then select the server you set up in the previous procedure.
3.) The first time you connect to a new server, FileZilla displays a warning. If you are sure this is the right site, select Always trust this host and select OK.
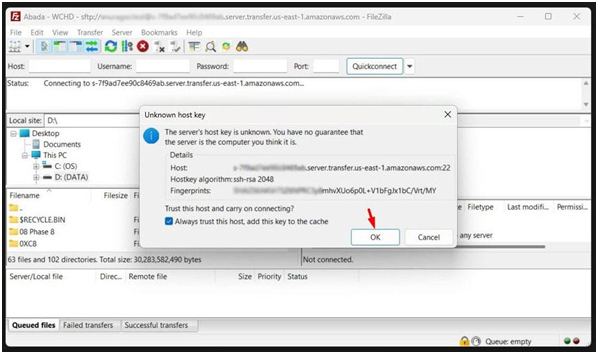
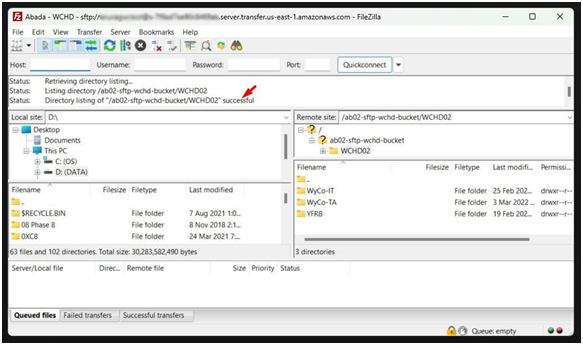
4.) You will then successfully connected to the server.

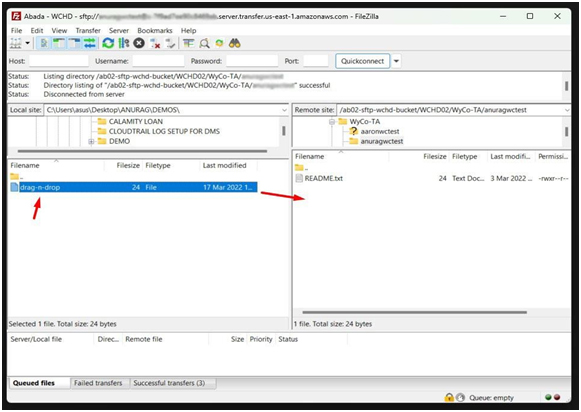
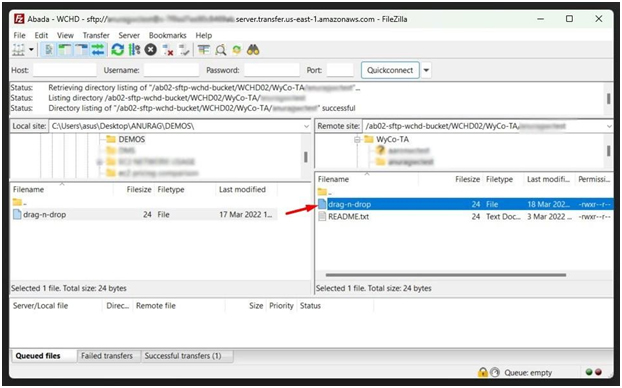
5.) FileZilla opens. Your computer (Local Site) is on the left and the server (Remote Site) is on the right. Navigate to different locations on either system. Drag and drop files or folders to copy files.